06.28.11
Making an Iced Coffee / Latte
I’ve never been a fan of straight coffee (it tastes kind of stale to me) but I love coffee as a flavoring. About a year ago I started getting McDonald’s Iced Coffees. Easy to get and very good. But not healthy and not easy on my pocket book. A little research on the internet turns up a few hundred DIY Iced Coffee recipes. Here is what I settled on as working the best.
Start with cold brewed coffee. Cold brewed coffee is coffee made without heat; it turns out you can get the flavor of coffee into water without heat, it just takes a long time. The advantage of doing it this way is the flavor is less acidic – the part that always tasted stale to me. It is easy to make too.
You need:
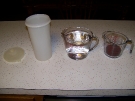
1. Coffee (Ground; fresh course ground is best, but anything will work. The quality of the coffee is important, but much less so than heat brewed coffee)
2. A container of any sort with a cover
3. Another container that can hold as much or more as the covered one. This is just for sieving.
4. A sieve, the finer the better (To some degree…)
5. Some coffee filters
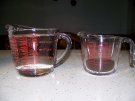
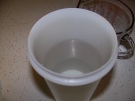
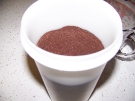
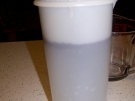
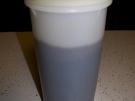
Fill the container with water. Filtered or bottled will taste better. Add between 1/4th and 1/8th as much coffee grounds as you add water. 1/8th works fine, but needs to soak longer. Cover the container and let it sit out, at room temperature. If you use 1/4th, you can do as little as 6 hours but I recommend 12. 16 hours for 1/8th. Some recipes recommend using the fridge, but then it takes even longer (24+ hours).
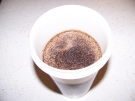
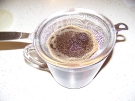
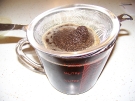
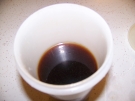
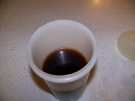
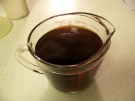
After it is done soaking, just filter the grounds out. I poor it through the sieve into the second container, then empty the sieve and the first container of grounds. This takes care of most of the loose coffee grounds so they don’t clog up your coffee filters as bad. Now add the filter to the sieve and pour through slowly again. If the filter clogs up, you can squeeze it to get the remaining coffee out and then switch to a new one. When you are done, the refrigerate the coffee in the covered container. It can be stored for around a week at most before it starts getting weird flavors.
You can drink the coffee right like it is, and it is good (but VERY strong). Dilute it with water 1/1 for a better flavor. Heat it up for an amazing, not-stale tasting coffee. Supposedly the caffeine content will be about the same as a normal cup.
For Iced Coffee, use 3/5ths water to 2/5ths coffee, poured over ice. Add some sweetener for something similar to what you get at StarBucks.
My favorite is an Iced Latte. For this you need:
1. Cold Brewed Coffee (I find a flavored coffee works best; Cinnamon Hazelnut is amazing)
2. Milk. Even fat free works fine, but the more fat the better the taste, obviously 😛
3. Sugar or a sweetener
4. Vanilla Extract (Real has the best flavor, as always)
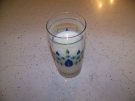
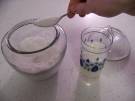
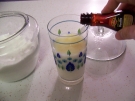
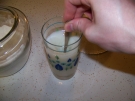
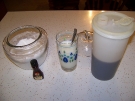
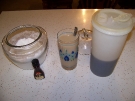
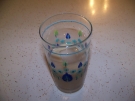
Fill a cup or container 2/3rds full of milk. Add sugar; I use two heaping spoonfuls for a 1.5 cup glass. You might have to experiment to find your preferred sweetness. Add several drops of vanilla extract; not too much or the drink will taste sharp. Stir until the sugar is dissolved. Fill the remainder of the cup with the cold brewed coffee, and stir a little. Add an ice cube or two to chill the drink (it tastes better cold!). If you want to, you can freeze the cold brewed coffee and use half water, half frozen coffee. This way when the cubes melt you can drink the result. I don’t usually bother because I drink it really quick.
Enjoy an amazing Iced Latte at a fraction of the cost (both $$$ and health) of a McD, BK or StarBucks Iced Latte!
